Company Settings: Company branding & Users
Company Branding
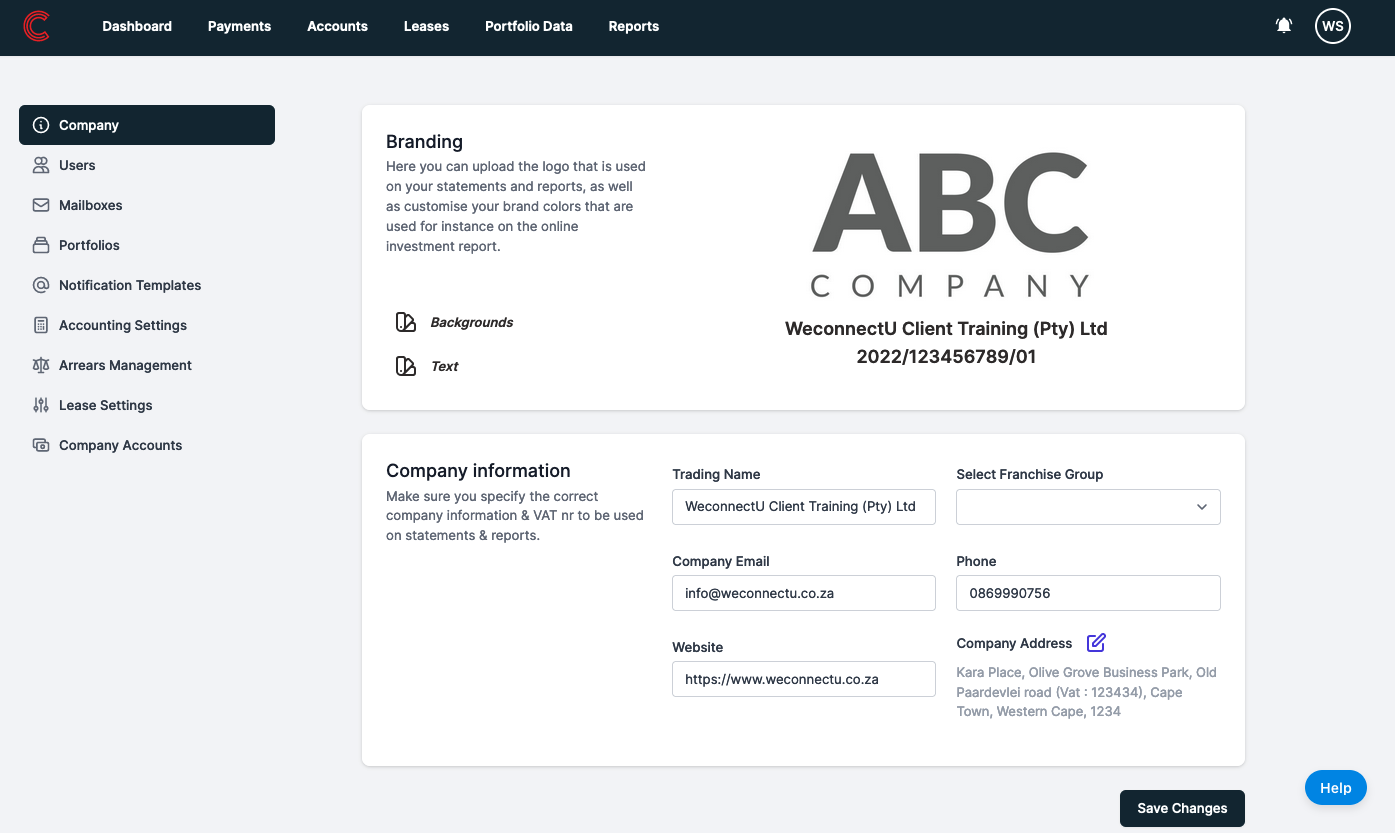
The information provided within this section will be visible on the Statements and system generated documentation.
You can add your Company's logo to your statements by uploading it in the Branding section. Make sure the logo is in .jpg or .png format and does not exceed 100Kb in size. Remember using a smaller logo with a good resolution is best, as larger logos will make the documents larger to send via email.
To prevent the Landlord or Tenants from using your personal email or phone number, it is advisable to enter the Company's email and phone details.
The following information regarding the Company can be entered:
- Trading Name - The name under which the Company is trading
- Company Name - The registered name of the Company
- Franchise Group - If you belong to a franchise you can select the relevant Franchise Group from the drop-down list.
- Contact Info - The Company address and contact details, and more specific:
Email - The default email address for your Company/Agency
Phone - The contact number for your Company/Agency
Website - If you have a website URL available you can put it in here
Company Address - Your Company/Agency's physical address
Users
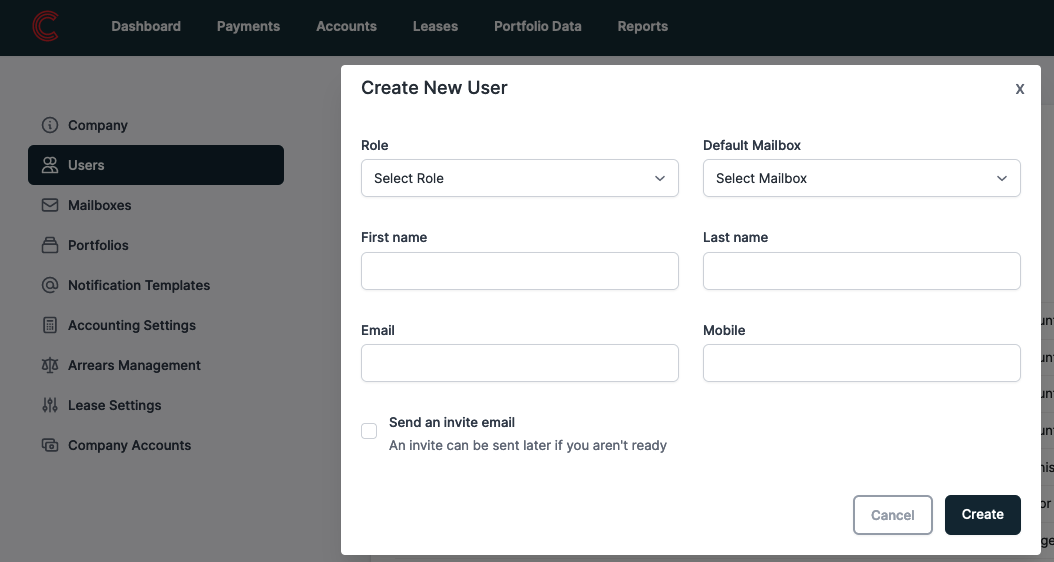
Users are Personnel, Agents or Auditors needing to access your WeconnectU solution and can be created based on their respective roles.
- This page displays both active and deactivated users created within your WeconnectU profile.
- You are able to create new users (via the Add User button at the top right of the page) and modify their details as required.
- There is no limit to the number of users you can create.
- The predefined default permissions of the different Roles can be customised according to the responsibilities of the User within the company.
- Please refer to the article ' Creating and Managing Users'.
- Please refer to the article 'Setting up your Auditor as Users'.
- After creating a User, you have the option to check the 'Send an invite email' box. This will trigger a notification email to be sent to them, allowing them to access and log in to the solution.
Default Permissions per User type:
To view the description of any specific permission given to a User, simply hover your cursor over the question mark (?). The solution will then provide a brief description of that permission's capabilities. Additionally, you can refer to the article 'Creating and Managing Users'
| Heading | Permissions | Account Owner | Manager | Admin | Agent | Auditor |
| Company Setup | Manage Company Details | x | x |
|
|
|
|
|
Manage Users | x |
|
|
|
|
|
|
Manage Portfolios | x | x |
|
|
|
|
|
Manage Mailboxes | x | x |
|
|
|
|
|
Manage Lease Settings | x | x |
|
|
|
|
|
Manage Account Settings | x | x |
|
|
|
|
|
Manage Notification Templates | x | x |
|
|
|
|
|
Manage Company Investment Account | x | x |
|
|
|
|
|
|
|
|
|
|
|
| Portfolio Data | View Portfolio Data | x | x | x | x | x |
|
|
Manage Portfolio Data | x | x | x | x |
|
|
|
|
|
|
|
|
|
| Leases | View Leases | x | x | x | x | x |
|
|
Manage Leases | x | x | x | x |
|
|
|
Change Lease After Finalisation | x | x |
|
|
|
|
|
Load and Process Applications | x | x | x | x |
|
|
|
Conduct Credit Check | x | x | x | x |
|
|
|
Finalise Leases | x | x |
|
|
|
|
|
|
|
|
|
|
|
| Accounts | View Accounts | x | x | x |
|
x |
|
|
Manage Accounts | x | x | x |
|
|
|
|
Manage Arrears | x | x | x |
|
|
|
|
Change Deposit Interest | x | x |
|
|
|
|
|
Send Bulk Statements | x | x | x |
|
|
|
|
Withdraw Deposit | x | x | x |
|
|
|
|
Manage Account Categories | x | x |
|
|
|
|
|
Make Account Corrections | x | x |
|
|
|
|
|
|
|
|
|
|
|
| Billing | Load Variable Billing | x | x | x |
|
|
|
|
Run Manual Billing | x | x | x |
|
|
|
|
Run Bulk Billing | x | x | x |
|
|
|
|
Manage Billing Rule Status | x | x | x |
|
|
|
|
|
|
|
|
|
|
| Payments | Map and Submit Bank Payments | x | x | x |
|
|
|
|
Allocate Payments | x | x | x |
|
|
|
|
Approve Payments | x | x | x |
|
|
|
|
Allocate and Approve Payments |
|
|
|
|
|
|
|
Approve Beneficiary Detail | x | x |
|
|
|
|
|
Cancel Approved Payment | x | x | x |
|
|
|
|
View Banking | x | x | x |
|
x |
|
|
View Payments | x | x |
|
|
x |
|
|
Reject Payments | x | x |
|
|
|
|
|
Create and Update Beneficiary | x | x |
|
|
|
|
|
|
|
|
|
|
|
| Reporting | Export Portfolio Data | x | x |
|
|
x |
|
|
Export Account Balances | x | x |
|
|
x |
|
|
Export Compliance Reports | x | x |
|
|
x |
|
|
Export Business Reports | x | x |
|
|
x |
|
|
View Audit Trail | x | x |
|
|
|
Unlock User Account
Upon 3 unsuccessful login attempts a User's account will be locked for security purposes. Please refer to the following article on how to unlock a User Account 'How to unlock your User account'
Users: Best Practice
When Users access the solution, an audit trail is generated to enhance security and maintain a historical record of their actions.
To ensure proper record-keeping, it is recommended to deactivate a User when they leave your organisation or when new staff members join. If you edit an existing User's name from the older User to the new User, you will lose the entire audit trail of the departing User.
Navigate to Company Settings>Users>View user to be deactivated>Status>Deactivate>Save Changes.
The User's name will be displayed in red on your User list, making it easy to identify that they have been deactivated. Should you need to grant access to the User again, you can simply follow the same procedure and click on 'Activate'

End of article